Category: Programming
-
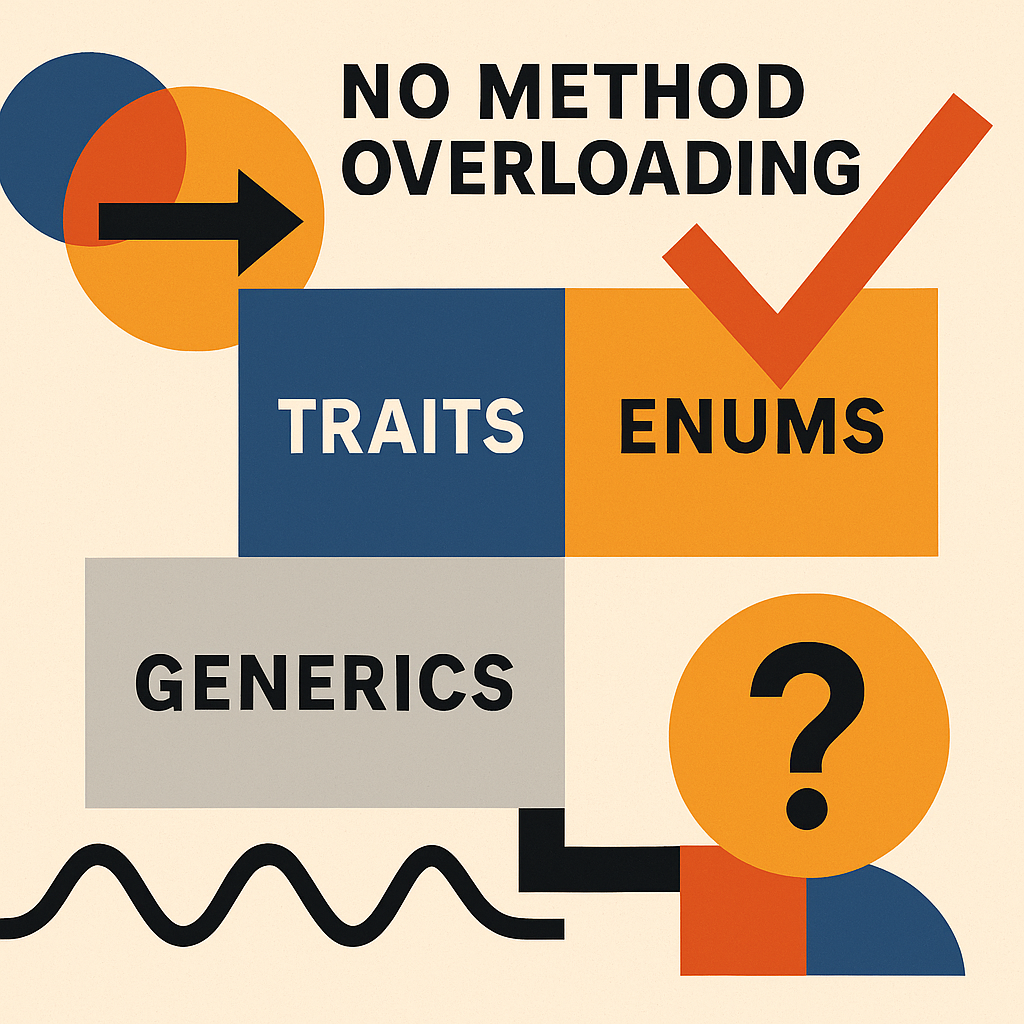
🔁 Why Rust Doesn’t Have Method Overloading (and What You Can Do Instead)
If you’re coming to Rust from Java, C#, or C++, one of the first things you might notice is that Rust doesn’t support method overloading. That’s right — in Rust, you can’t define multiple methods or functions with the same name but different parameters or types. At first, this might seem limiting. But once you…
Written by
-
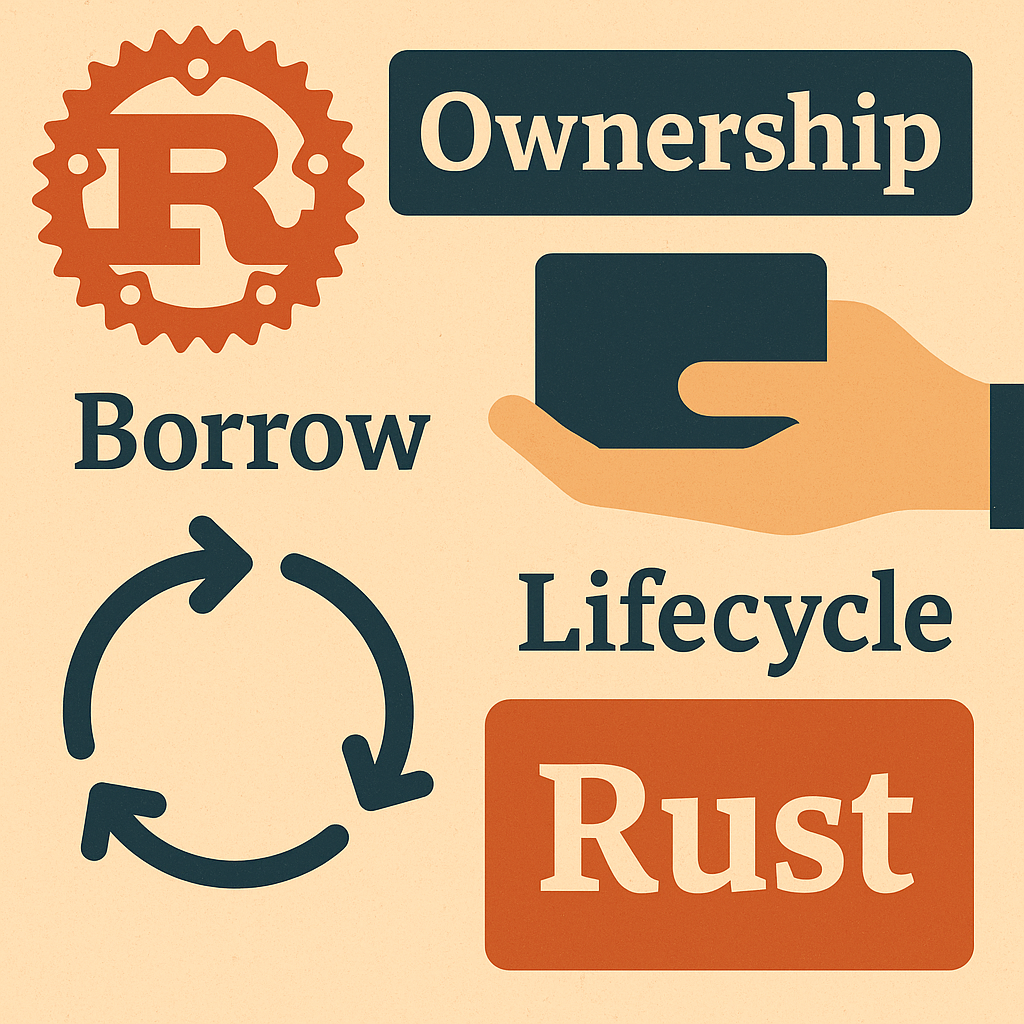
🔐 Understanding Ownership, Move Semantics, and Lifetimes in Rust
One of Rust’s most powerful—and at first, most confusing—features is its ownership system. Unlike garbage-collected languages like Java or Python, Rust manages memory without a garbage collector, instead relying on strict compile-time rules to ensure memory safety and prevent data races. In this article, we’ll dive into three foundational Rust concepts: We’ll go step by…
Written by
-
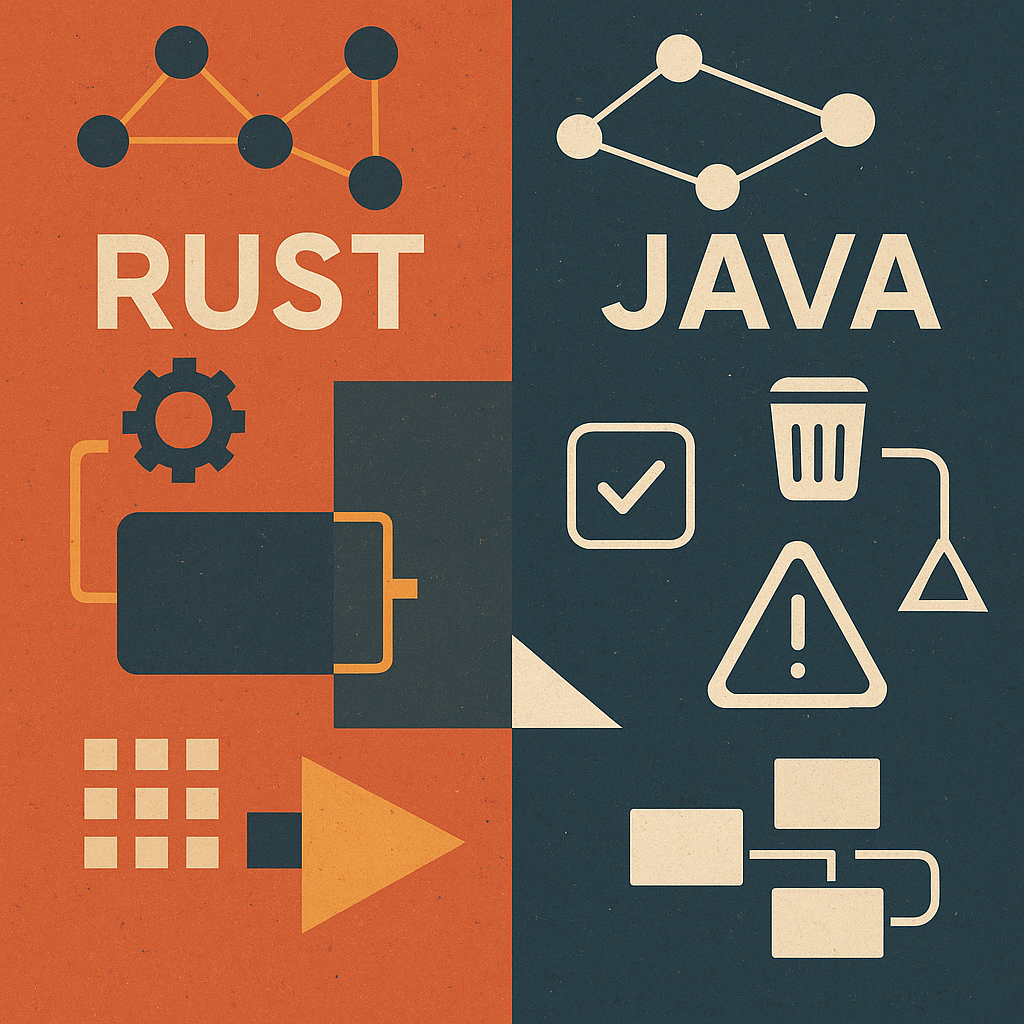
Rust vs Java: The Key Differences Every Developer Should Know
In the world of modern programming languages, Java and Rust stand as two titans—each with its own philosophy, strengths, and trade-offs. While Java has been a cornerstone of enterprise software for decades, Rust has emerged as a modern systems programming language focused on safety and performance. Whether you’re a Java developer exploring new languages or…
Written by
-
✅ Recommended Exceptions Strategy
Use a Hierarchy of Custom Exceptions with Specific Messages 1. Define a base exception class Create a generic custom exception that extends RuntimeException (or Exception if you need checked exceptions). 2. Create a few meaningful subclasses for common domains Use subclasses only for distinct categories, not every input field. 3. Throw exceptions with detailed messages…
Written by

-
Singleton Design Pattern or Configuration Beans?
Choosing the right approach in Java architecture When designing a Java application—particularly in the context of modern enterprise systems—developers often face a fundamental question:Should I use the Singleton design pattern or rely on configuration beans managed by a framework like Spring? While both approaches can achieve a shared goal—ensuring a single instance of a class—they…
Written by

-
🚨 Already Had Problems with Concurrency?
Here’s How to Face and Overcome It in Spring Boot Concurrency issues in applications—especially those backed by relational databases—can cause data inconsistencies, lost updates, or phantom reads that are hard to detect and even harder to debug. Have you ever seen something like: If yes, you’re not alone. These are classic symptoms of concurrent modification…
Written by

-
“Which Java Collection Should I Use?”
Choosing the Right Data Structure for Real-World Problems Have you ever asked yourself which data structure you should use to store your collection of items?It’s a common question every Java developer faces, especially when writing scalable and maintainable code. Java’s Collections Framework offers a variety of implementations for lists, sets, and maps—but using the right…
Written by

-
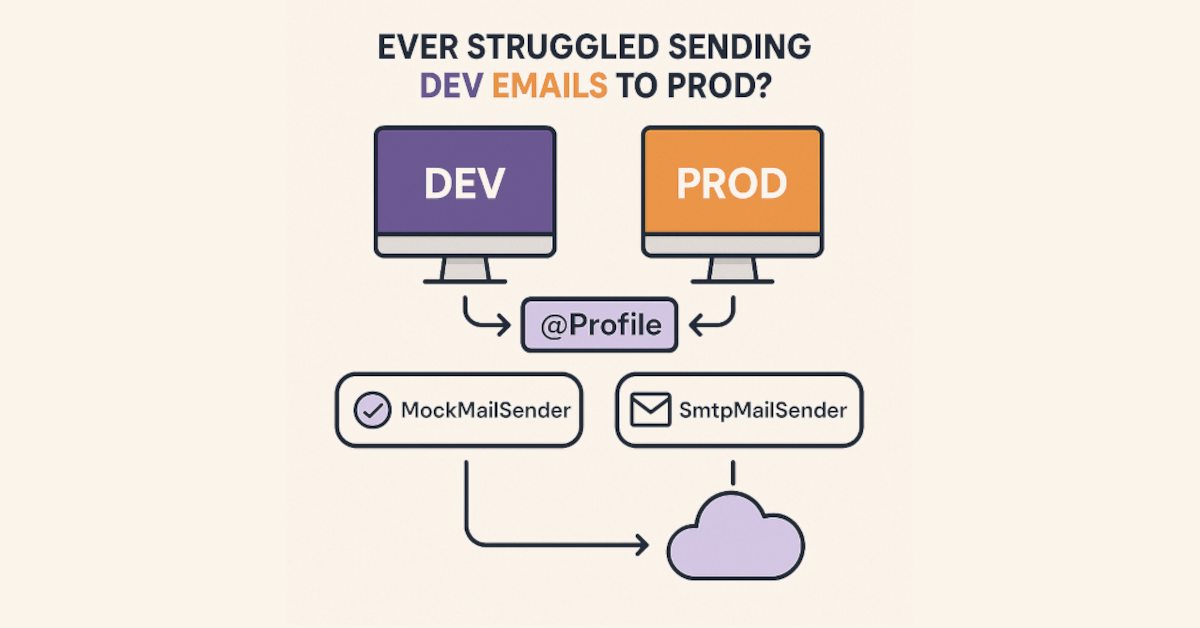
Ever Struggled Sending Dev Emails to Prod?
Use @Profile to Stop That Madness Situation We’ve all been there: you’re building a feature that sends emails—maybe it’s a password reset, a newsletter, or a welcome message. You test it locally, everything looks good, and then… you forget to switch something before deploying. Suddenly, real users are receiving test emails with dummy links or…
Written by
-
Mastering IoC in Java
10 Powerful Features Explained with STAR Method, SOLID Principles & Real Code Understanding Inversion of Control (IoC) is essential for writing maintainable, scalable, and testable Java applications. This post explores 10 IoC features using real-world situations, and shows how they align with SOLID principles — with real code to bring everything to life. 1. Decoupled…
Written by

-
Structuring Spring Boot Applications
Designing a Clean Architecture with Controller, Mapper, Service, and Repository When building modern Spring Boot applications, organizing code in layers brings clarity, separation of concerns, and easier testing. One of the most common and effective approaches is using the Controller → Service → Mapper → Repository flow. In this post, I’ll walk you through how…
Written by
