Author: vmf
-
Mastering IoC in Java
10 Powerful Features Explained with STAR Method, SOLID Principles & Real Code Understanding Inversion of Control (IoC) is essential for writing maintainable, scalable, and testable Java applications. This post explores 10 IoC features using real-world situations, and shows how they align with SOLID principles — with real code to bring everything to life. 1. Decoupled…
Written by

-
Structuring Spring Boot Applications
Designing a Clean Architecture with Controller, Mapper, Service, and Repository When building modern Spring Boot applications, organizing code in layers brings clarity, separation of concerns, and easier testing. One of the most common and effective approaches is using the Controller → Service → Mapper → Repository flow. In this post, I’ll walk you through how…
Written by

-
Mastering entity relation mapping in Java
Parent Perspective in Entity Mapping Have you ever asked: “Should the parent own the relation, with cascade all, and the child DTO not even mention the parent?” That’s often a good and clean approach, and here’s why. ✅ When the Parent Owns the Relation Pros: DTO Example (clean): No need for PersonDto inside PassportDto. ✅…
Written by

-
Smarter Switch Statements
in Java 21 with Pattern Matching Java has come a long way since the days of switch (int) and switch (String). With Java 21, the switch statement becomes way more expressive thanks to pattern matching — allowing it to work seamlessly with types, records, sealed hierarchies, and more. In this post, we’ll explore what’s new…
Written by

-
The Beyond Path
A step into the unseen I was sleeping deeply when I heard my dogs barking. Startled, I woke up and listened. Then I heard something else—the front door opening. My heart started racing. I got up quietly, ready to confront whoever was coming in. I stayed still, waiting to catch the intruder by surprise. A…
Written by

-
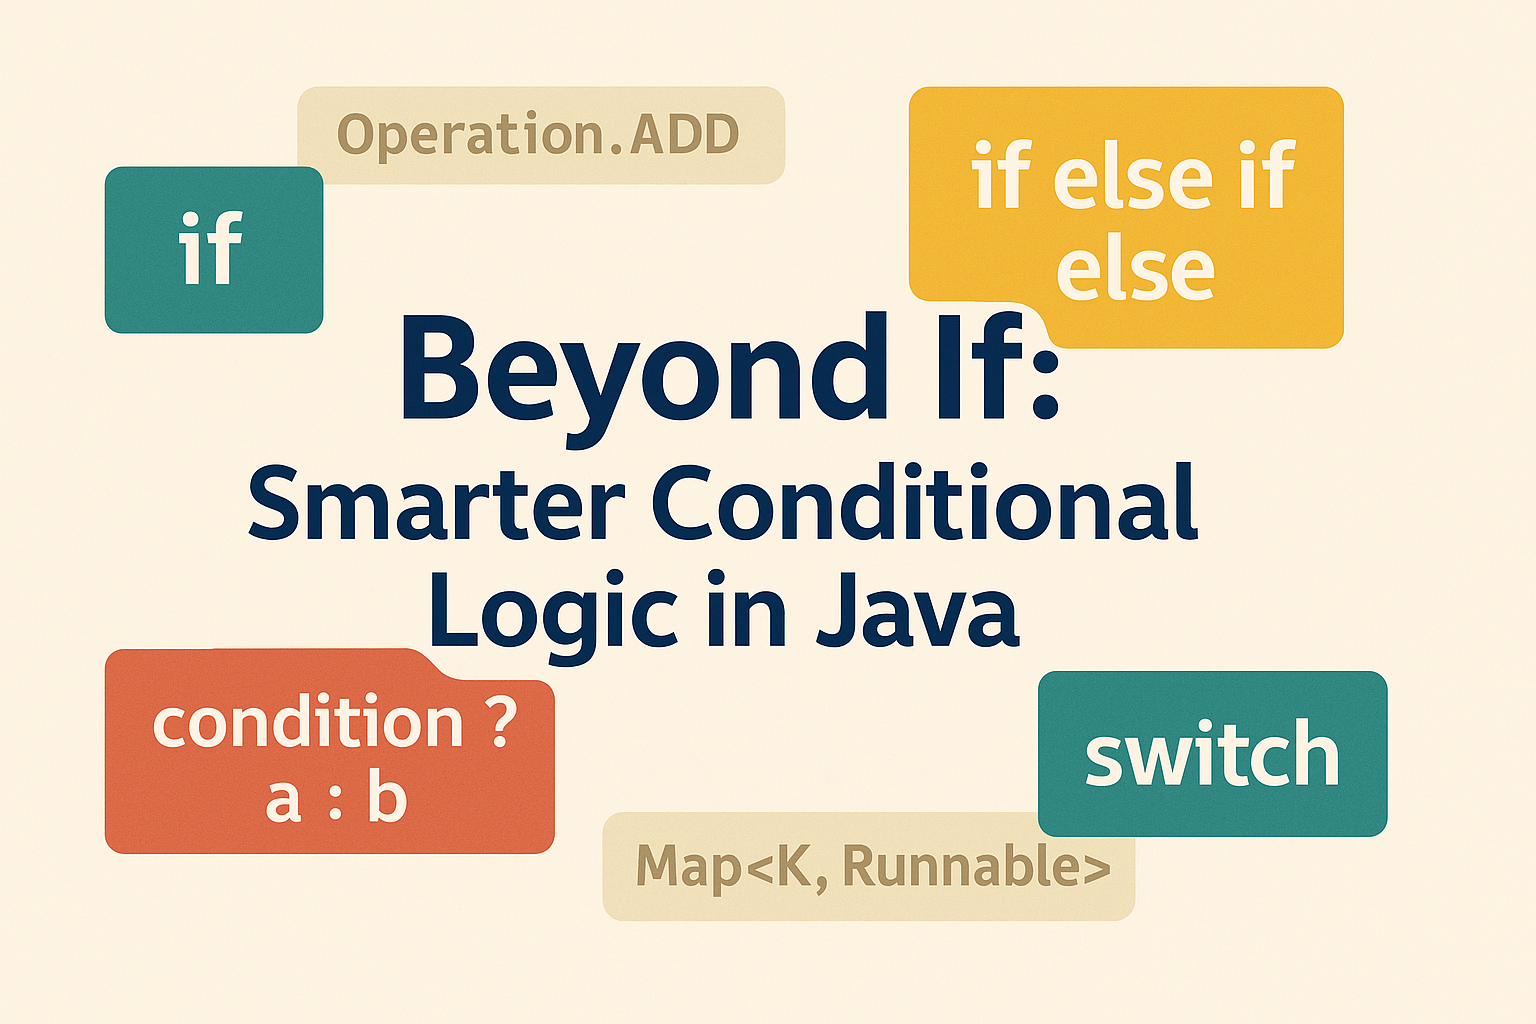
Escape the If Jungle
Modern Conditional Strategies in Java Classic Conditionals: Advanced or Alternative Structures: Now, let’s write a class that demonstrates a few of the more interesting and non-obvious ones: using enum with behavior, map of commands, and polymorphism. 📦 ConditionalStructuresShowcase.java This class shows three strong alternatives to conditionals: The java project can be found here.
Written by
-
Dealing with the torturer
The Pact with Tractor Torturer The four ninjas walked in silence, the sound of their footsteps swallowed by the dark corridors that led to the chamber of Tractor Torturer. He was a giant of legend — feared, brutal, and impossible to ignore. They had struck a deal with him. Not good, not bad. Just… a…
Written by

-
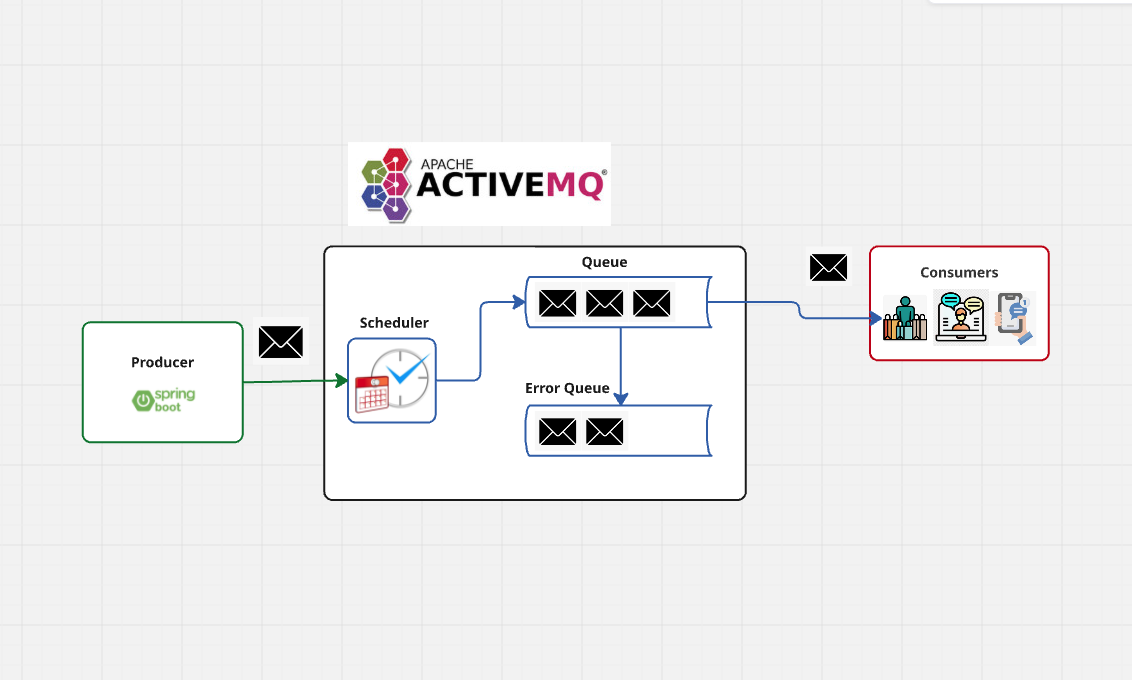
📨 Modern Messaging with Spring Boot and ActiveMQ
Why Messaging Matters in Modern Applications In a distributed system, services often need to communicate asynchronously to ensure decoupling, scalability and resilience. Messaging systems enable this by allowing services to send and receive messages without needing to know about each other’s existence or availability in real time. This pattern is crucial in microservices, event-driven architectures…
Written by
-
Understanding One-to-One Relationships: Database vs Java (Hibernate)
When modeling One-to-One relationships, you can approach it in several ways depending on the ownership, lifecycle, and data modeling constraints. While Java and Hibernate offer flexibility in how this relationship is implemented at the code level, the root of it lies in database design. So let’s start there. One-to-One Relationship Strategies in Database Engineering In…
Written by